
Bug Hunt Corridors
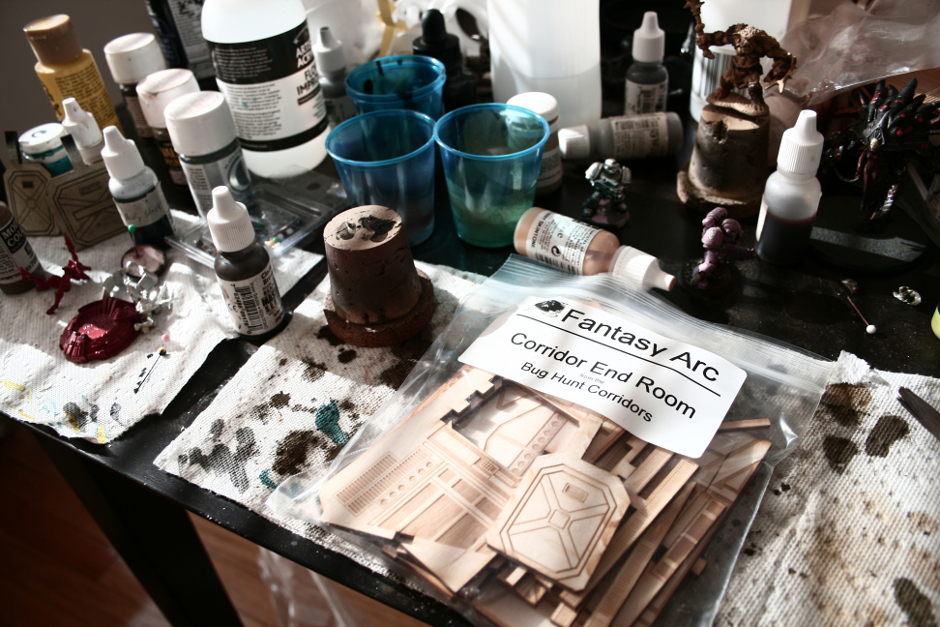
A few months ago, I picked up a model kit I helped fund on Kickstarter called Bug Hunt Corridors, created (and manufactured) by Ken at Fantasy Arc. What he did was recreate the corridors from the film Aliens in ~28mm scale and laser cut them for use in tabletop wargaming, and I ordered them with the intention of using them as a photo prop for my models. For this week’s post, I’d like to do a combination review and how-to guide to show off what I’ve done with them so far.
Each segment is packed into it’s own plastic bag and your order comes with printed assembly instructions:
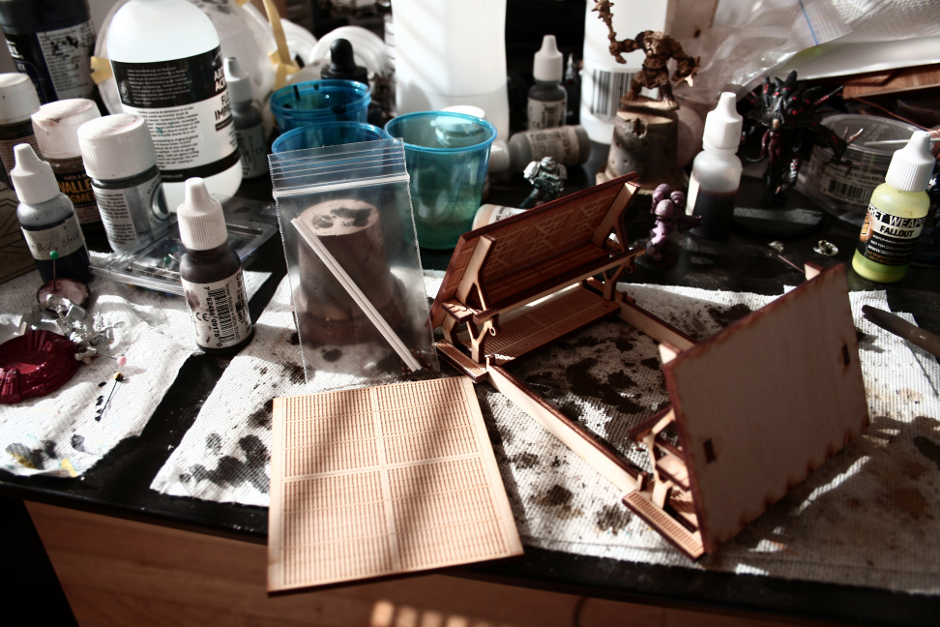
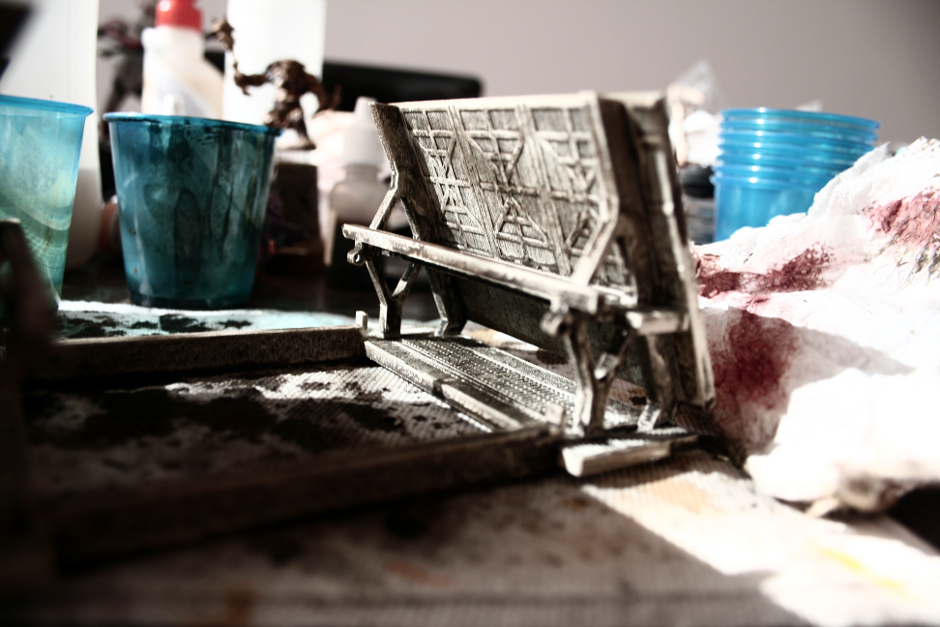
After assembly (I switched to a different piece that I had pre-assembled, hoping no one would notice), the main corridor pieces look like this:
(Closeup)
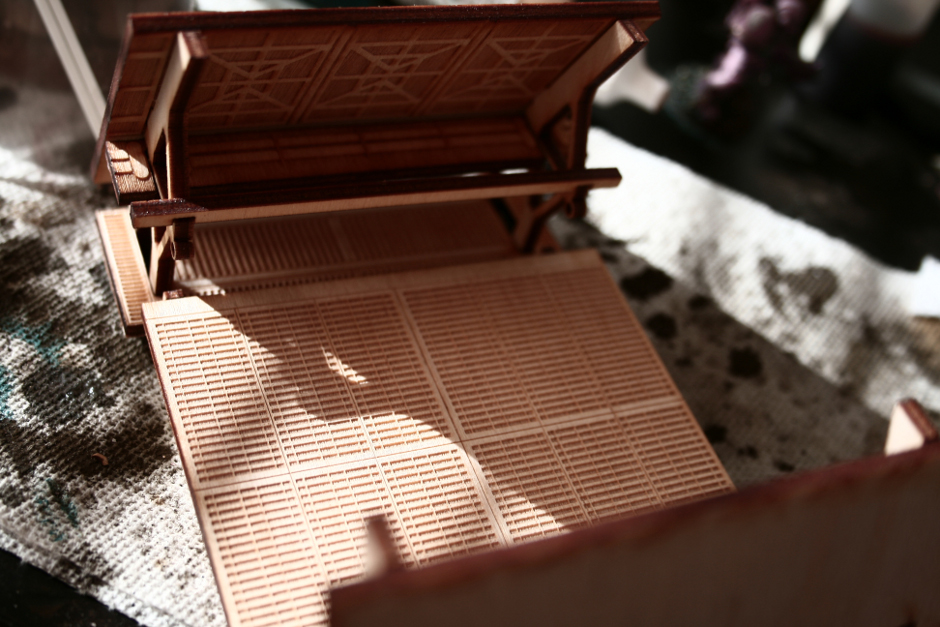
As you can see, the detail is outstanding, and the kit also includes white styrene rods that slide underneath the handrail as a substitute for the flourescent lights in the film. I haven’t installed them because I’m toying with the idea of replacing them with a clear (or frosted) rod that I can shine an LED through to more accurately recreate the look.
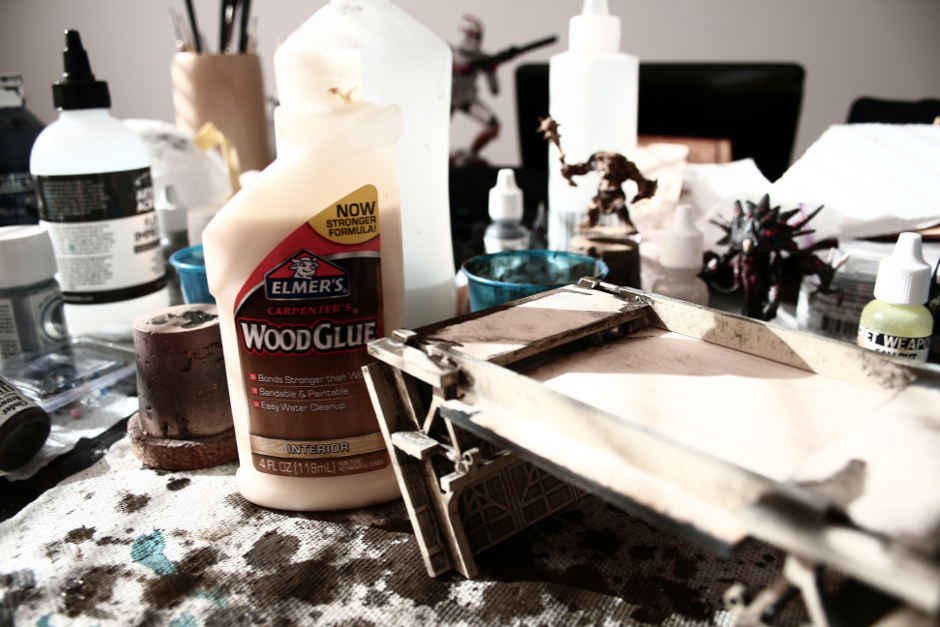
It’s important to note that I did have a little trouble following the instructions on the first piece I assembled. The instructions are a numbered CAD drawing and if, like me, Ikea directions cause you problems, it’s best to take your time and compare against the completed pieces on Ken’s website. Don’t be like me and glue the railings in the wrong spot.
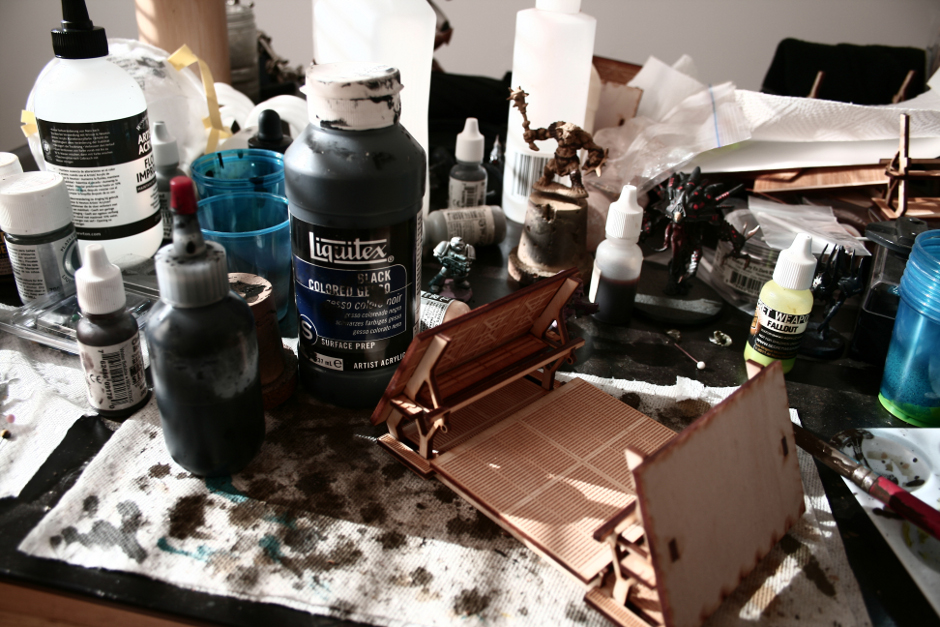
Before painting, I covered everything with two coats of black gesso thinned with a little water. This gives the paint something to stick to and helps give you a smoother surface on the wood, and the black helps hide any mistakes I may make later on. I’ve heard that it may be best to sand pieces like this before painting, but I didn’t have any problems.
Once the gesso was dry, it was time to start painting. To keep things simple, I used Krylon Colormaster Ivory (Satin). It took two coats to get good, even coverage.
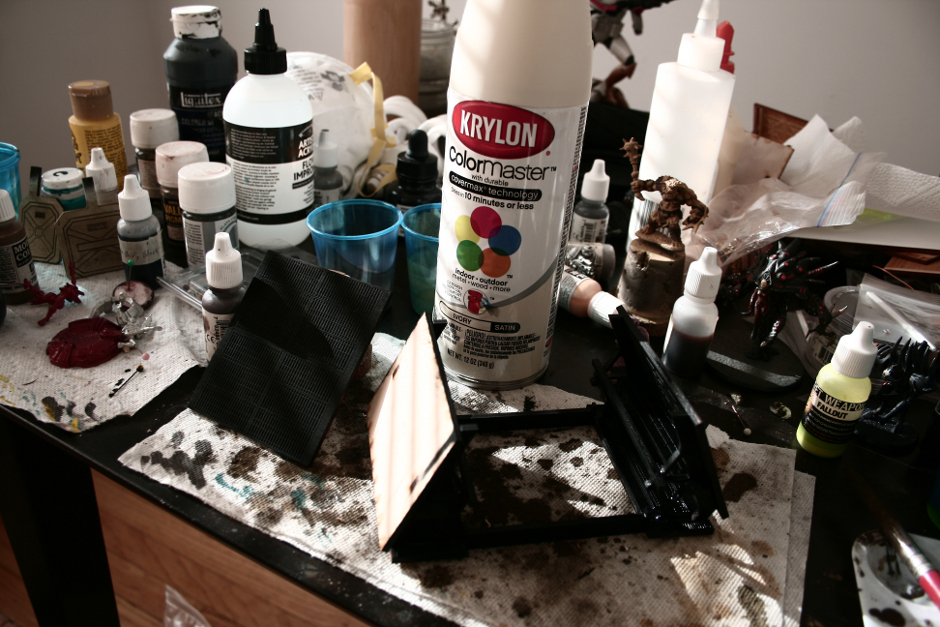
Hooray and now it’s time to do some weathering. I could go in and pick out some details in other colors to bring out more contrast and life, but my plan for these pieces is that this is a long abandoned ship or station, left floating for so long that the colors are faded and dusty. Kind of a scifi ghost ship, you know? The first step is to give it a wash of paint pigments.
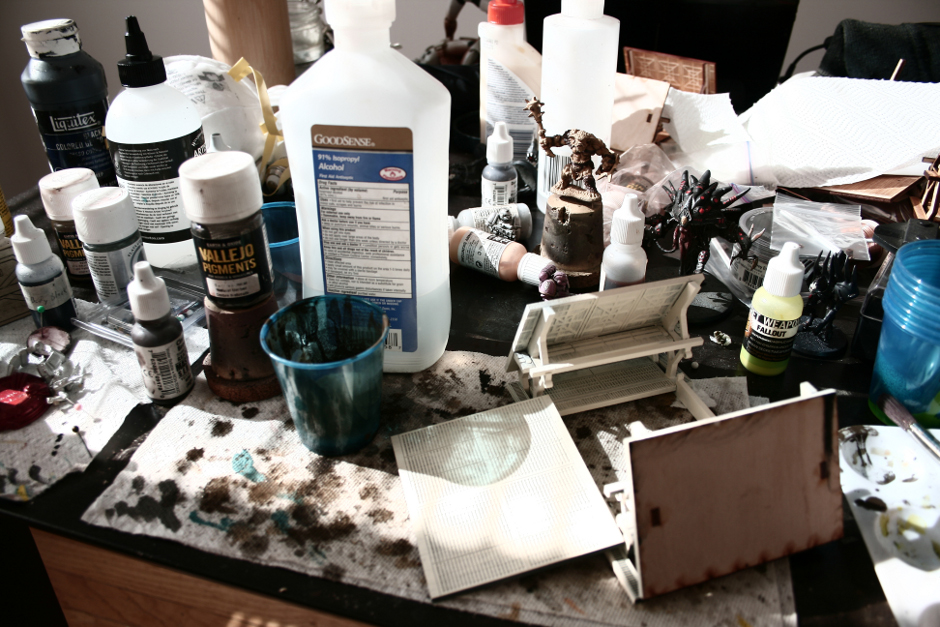
Specifically, Natural Umber pigments by Vallejo mixed with isopropyl alcohol.
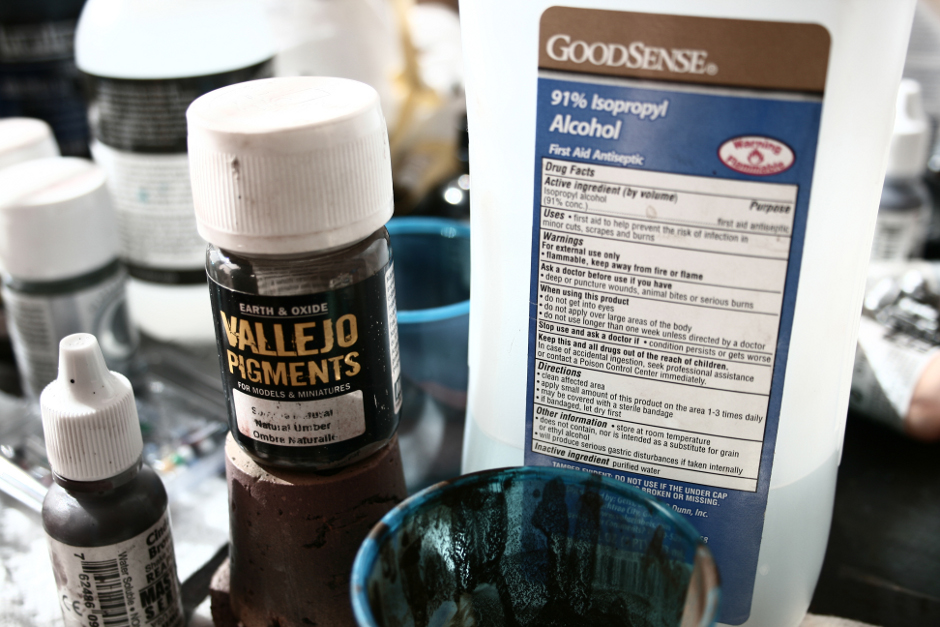
I mixed it up until the pigments blended into the alcohol, then slopped it all over the model. As the alcohol evaporates, it left the pigment
behind, pooled into the cracks and recesses. Once it’s dry to the touch, it’s time for the next color, Light Yellow Ocre. Again mixed with the alcohol, this time I applied the pigment in small drips or splashes to the floor tile only.

Afterwards, the floor looked like this.
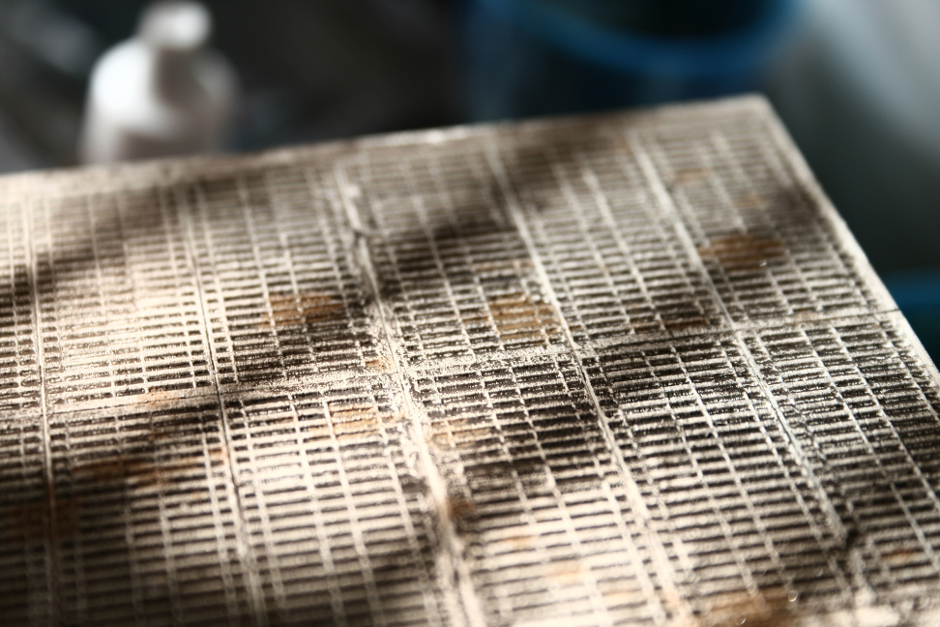
Now comes the messy part. Grabbing a paper towel and the extremely dusty corridor, I “buffed” the model, removing the pigment from the raised areas, leaving the color down in the recesses.
Next I glued the floor tile onto the corridor frame.
There was one final step involved in weathering the corridor, and that was to use Light Slate Grey. I loaded the bristles of a paintbrush with the pigment and tapped on the brush, dropping small piles of powder onto the floor, creating dust piles.

(The finished floor)

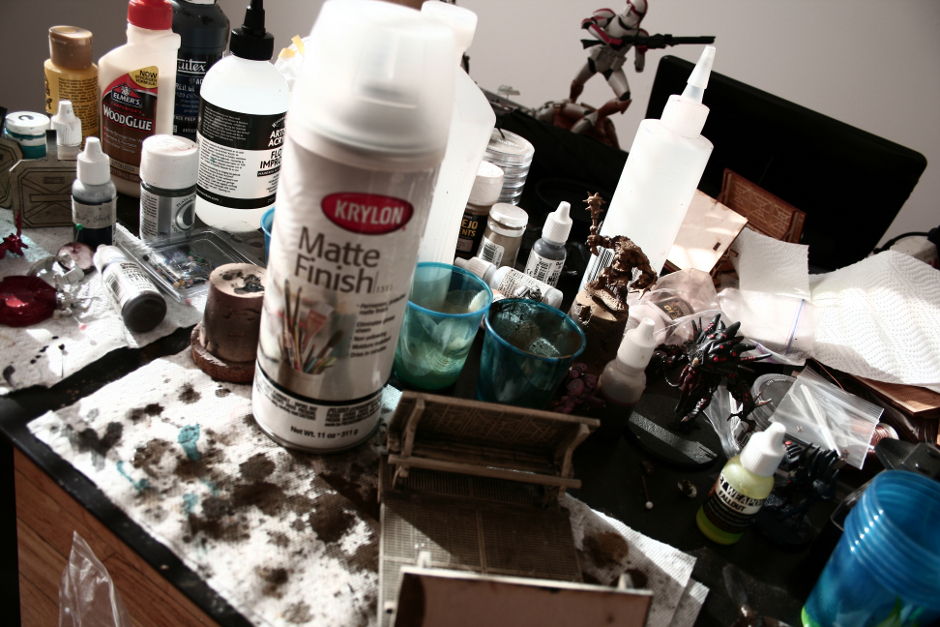
All that was left was to spray on the top coat to seal in the pigments. I used Krylon Matte Finish.
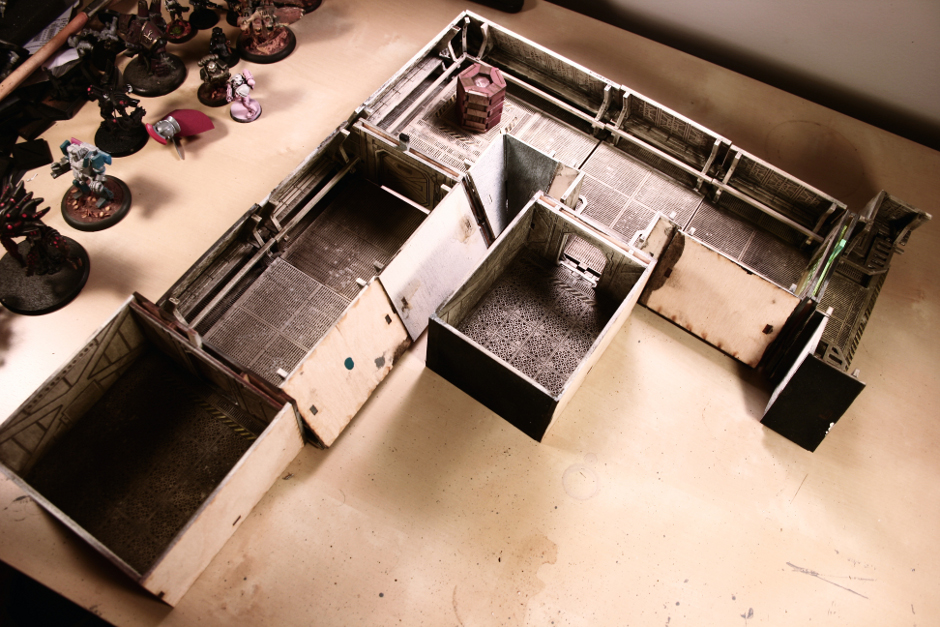
Here are a few of the Bug Hunt Corridor pieces I have finished (there are still a lot more to do). As you can see, there are a variety of rooms, hallways, barrels, doors, and even a stairway that’s just out of the frame. Each piece is modular and can be arranged and rearranged however you want, giving you a lot of versatility for your games.
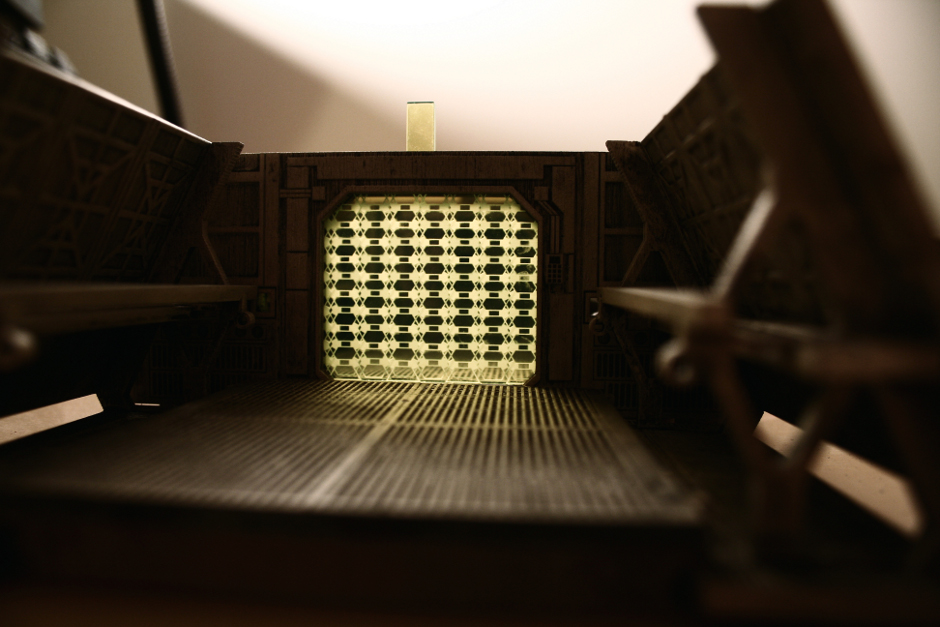
Getting down on eye level, how does it look? (The door is removable)
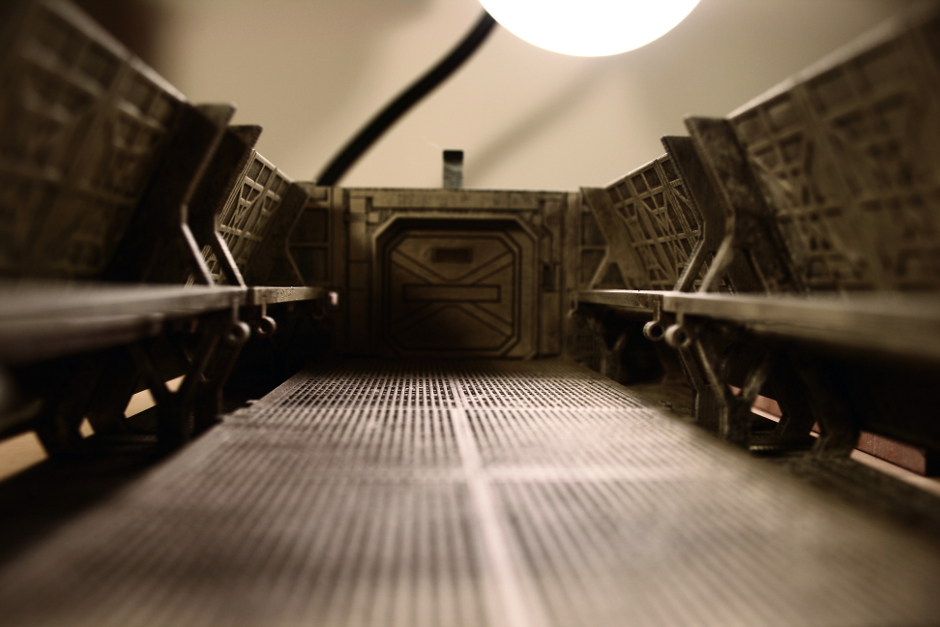
Why yes, that it a laser etched forcefield.
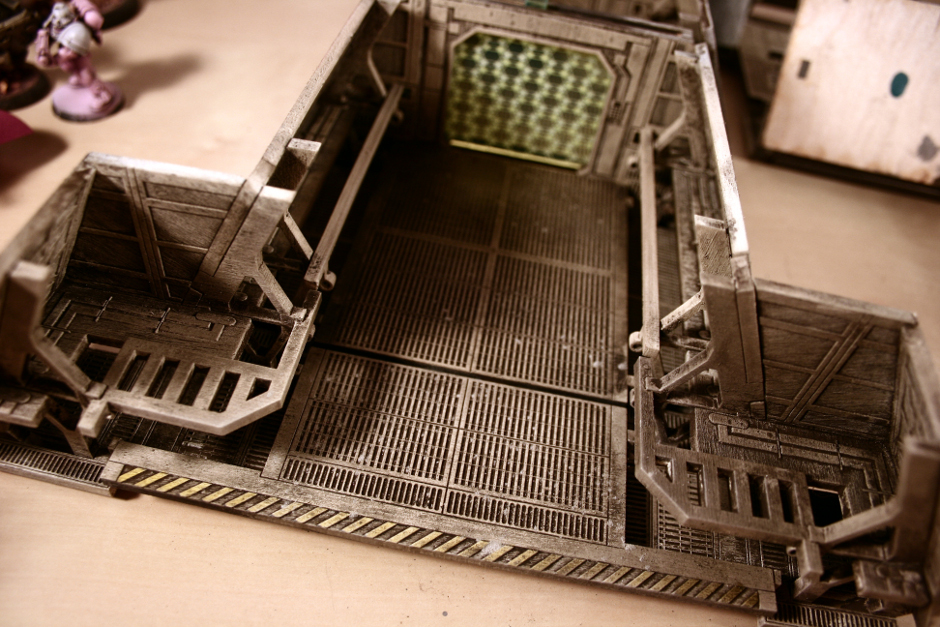
There are two different sizes of corridors (so far), the standard and the wide. The connector segment that transitions between the two shows off some of the great extra details like these hazard stripes:
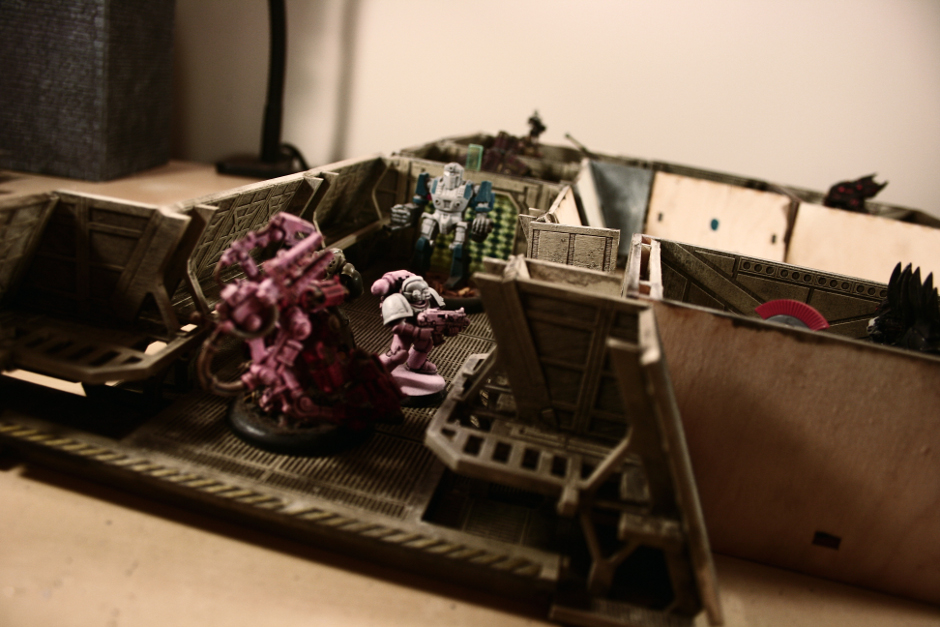
Ok, let’s see how it looks with some figures and get into my only problem with these kits.

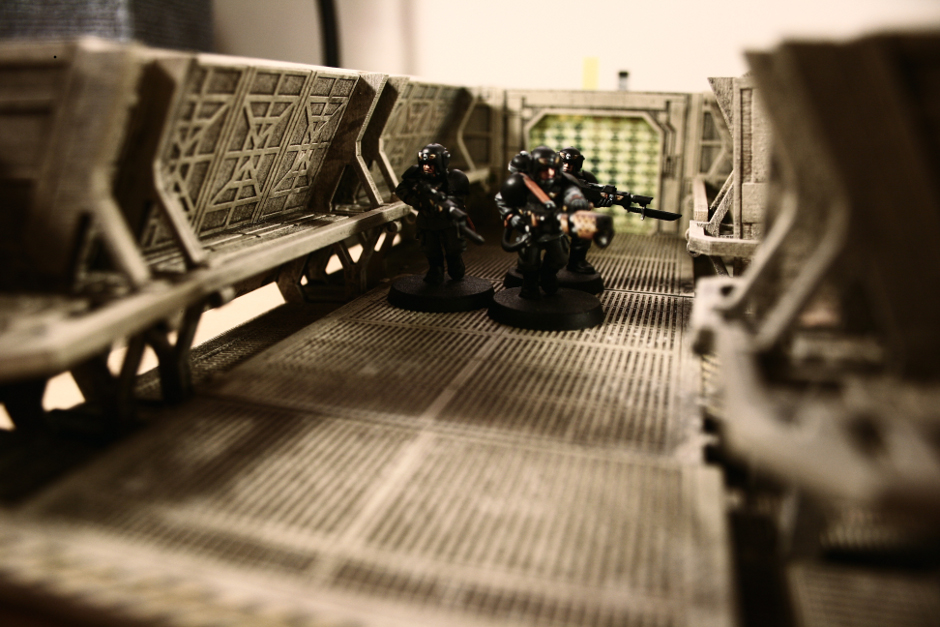
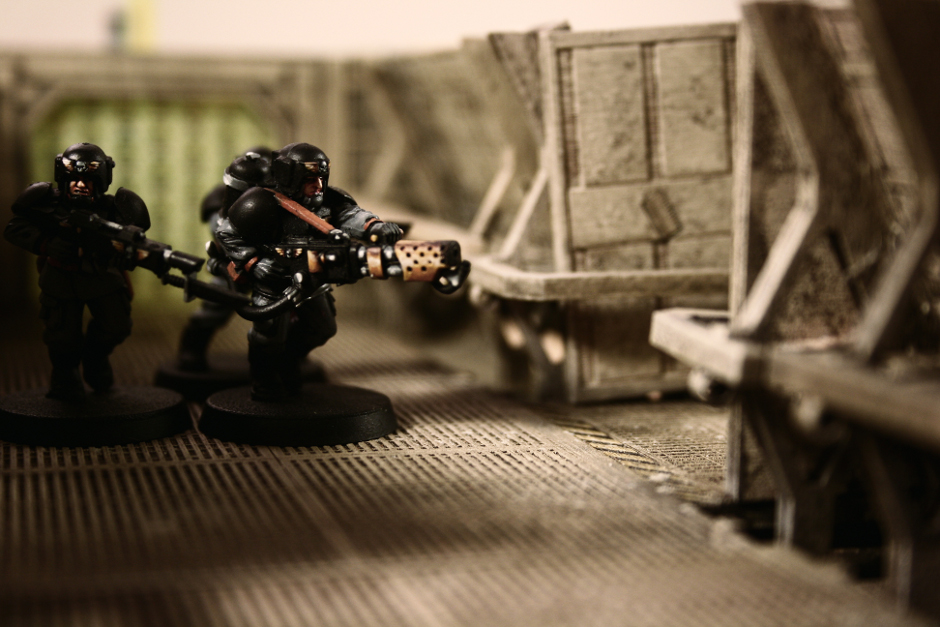
They do a great job of creating a tense atmosphere. Something horrible is going to jump out and it’s all going to go bad, just like in the movie. The corridors are nice and wide enough to move a variety of models through (3″ wide). Unfortunately, it’s only 2″ from floor to ceiling, making it very difficult to use as a photo prop. They are designed to be very playable game pieces and they excel at that. My minor complaint that they aren’t also great for photography is akin to me finding money in the street and wishing I had also found an iPod, so I’m definitely not upset with my purchase.
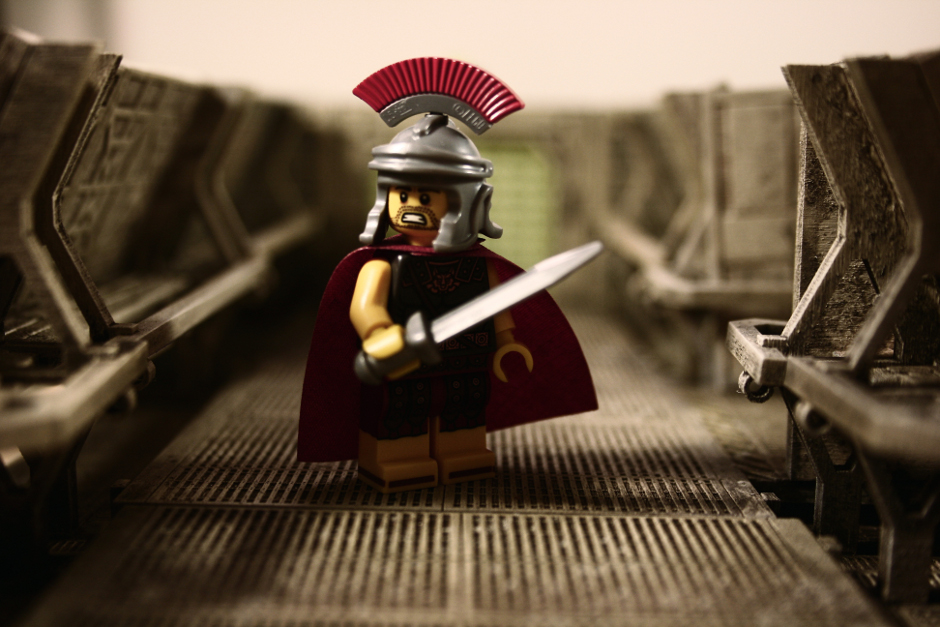
The height thing does create some interesting situations, however. Lego minifigures fit well enough:
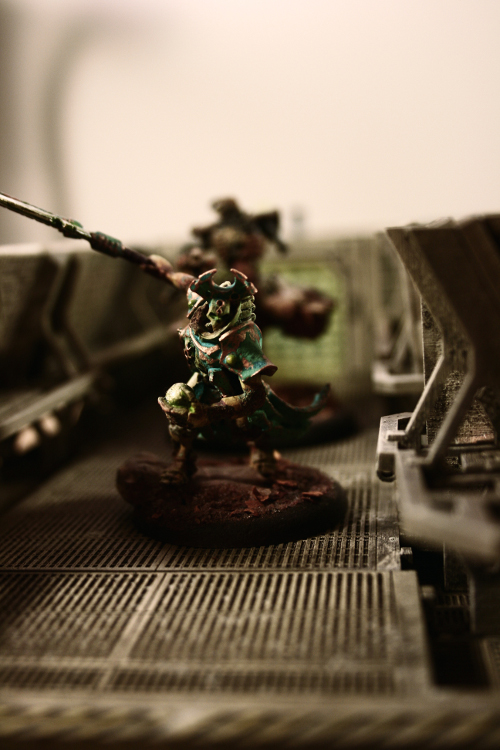
But models that are in more actiony poses do look a little odd from ground level.
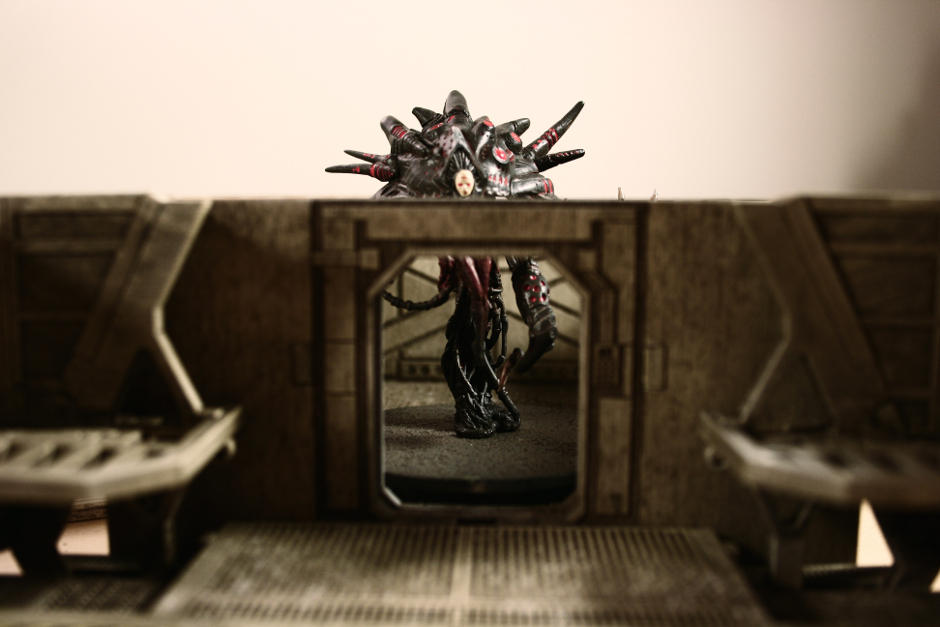
And now I’m just being ridiculous.
To sum it all up, I definitely recommend the Bug Hunt Corridors from Fantasy Arc. They are designed to be playable without sacrificing any style and they do so beautifully. Like I said, the corridors and rooms are modular, so there’s almost no limit to what games you can play on them. There is so much more I’d like to say about them, but I would much rather you order a few pieces and see for yourself.
At the time of writing this, Ken is working his way through the huge number of Kickstarter orders, but plans to open up for more orders as soon as he’s done. Keep an eye on his Facebook page so you won’t miss it!
While I have your attention, did you download your copy of my FREE ebook, Heroic Scale? I’m really proud of it and, if you like my photography, I think you’re going to really like it. Did I mention it’s free?
Be good,
-Dave
You’ll be pressing rewind
FANTASTIC review! And the painting… damn. You make that look easy. My jaw dropped more than once.